
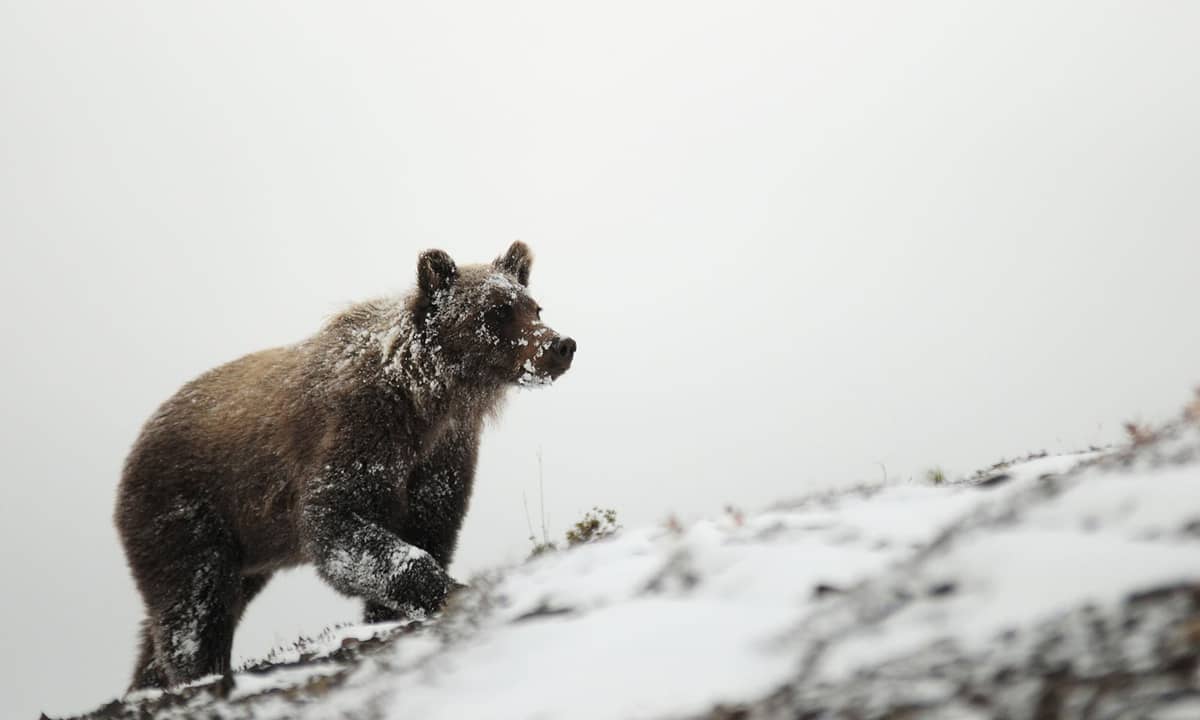
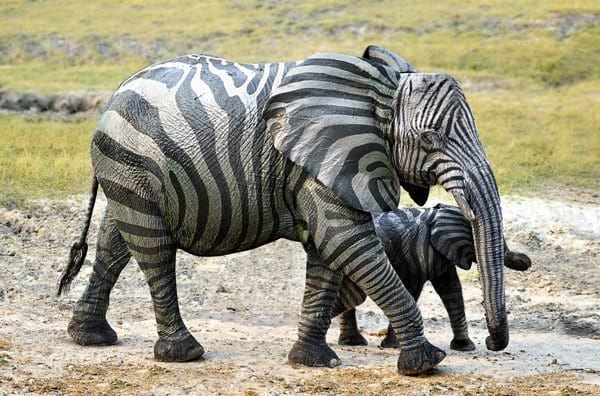
In this free Photoshop tutorial we’ll be covering the techniques used to extract and apply textures from one animal to another – combining two animals with Photoshop.
Using just a few key tools and the Overlay blend mode, you’ll see how simple it can be to combine your own favorite animals. You won’t be limited to only creating zebra-elephant hybrids, as the methods used in this tutorial will work across a multitude of animal types and even objects.
Here is a quick and easy, step-by-step guide to combining two animals from separate photos into a single composition using Adobe Photoshop.
Step 1: Open Both Images and Set Up Your Canvas
- Open both animal photos in Photoshop (File > Open).
- Choose one image to be your Background (where the final scene takes place).
- Switch to the tab of your second animal, press Ctrl + A (Windows) or Cmd + A (Mac) to select the entire image, and press Ctrl + C / Cmd + C to copy it.
- Go back to your background image tab and press Ctrl + V / Cmd + V to paste the second animal as a new layer.
- Name your layers clearly in the Layers panel (e.g., “Background” and “Subject”).
Step 2: Roughly Cut Out the Subject
- Select your “Subject” layer in the Layers panel.
- In the toolbar, choose the Object Selection Tool, Quick Selection Tool, or simply click Remove Background in the Contextual Task Bar (or Properties panel).
- Photoshop will automatically detect and isolate the animal.
Step 3: Refine the Edges with a Layer Mask
- Click the Add Layer Mask icon at the bottom of the Layers panel (a rectangle with a circle inside). This hides the background of the pasted animal without permanently deleting pixels.
- If parts of the background are still visible or parts of the animal were accidentally cut off:
- Select the Brush Tool ($B$).
- Set your foreground color to Black to paint away (hide) remaining unwanted areas.
- Set your foreground color to White to bring back (reveal) parts of the animal that were hidden.
Step 4: Position, Scale, and Match Perspective
- Press Ctrl + T (Windows) or Cmd + T (Mac) to activate Free Transform.
- Resize the animal by dragging the corners, and reposition it to fit naturally into the background scene. Hold Shift while dragging if you need to maintain proportions (depending on your Photoshop version).
- Press Enter / Return to apply the transformation.
Step 5: Blend the Lighting and Color
To make the composite look believable, the two images need to share similar lighting:
- Adjust Brightness/Contrast: Go to Layer > New Adjustment Layer > Curves or Levels. Clip it to your subject layer so it only affects the animal (hold Alt / Option and click between the adjustment layer and the subject layer). Adjust the sliders to match the lighting direction and intensity of the background.
- Add a Drop Shadow / Contact Shadow: Create a new blank layer underneath your subject layer. Use a soft, low-opacity black brush to paint subtle shadows where the animal’s feet or body meet the ground.
- Color Matching: Go to Layer > New Adjustment Layer > Color Balance or Photo Filter (again, clipped to the subject) to shift the animal’s color tones so they harmonize with the environment.