Skip to content
Lucas Cobb
I'm a web designer, front-end developer, and photographer.
Blog
Photography
Blog
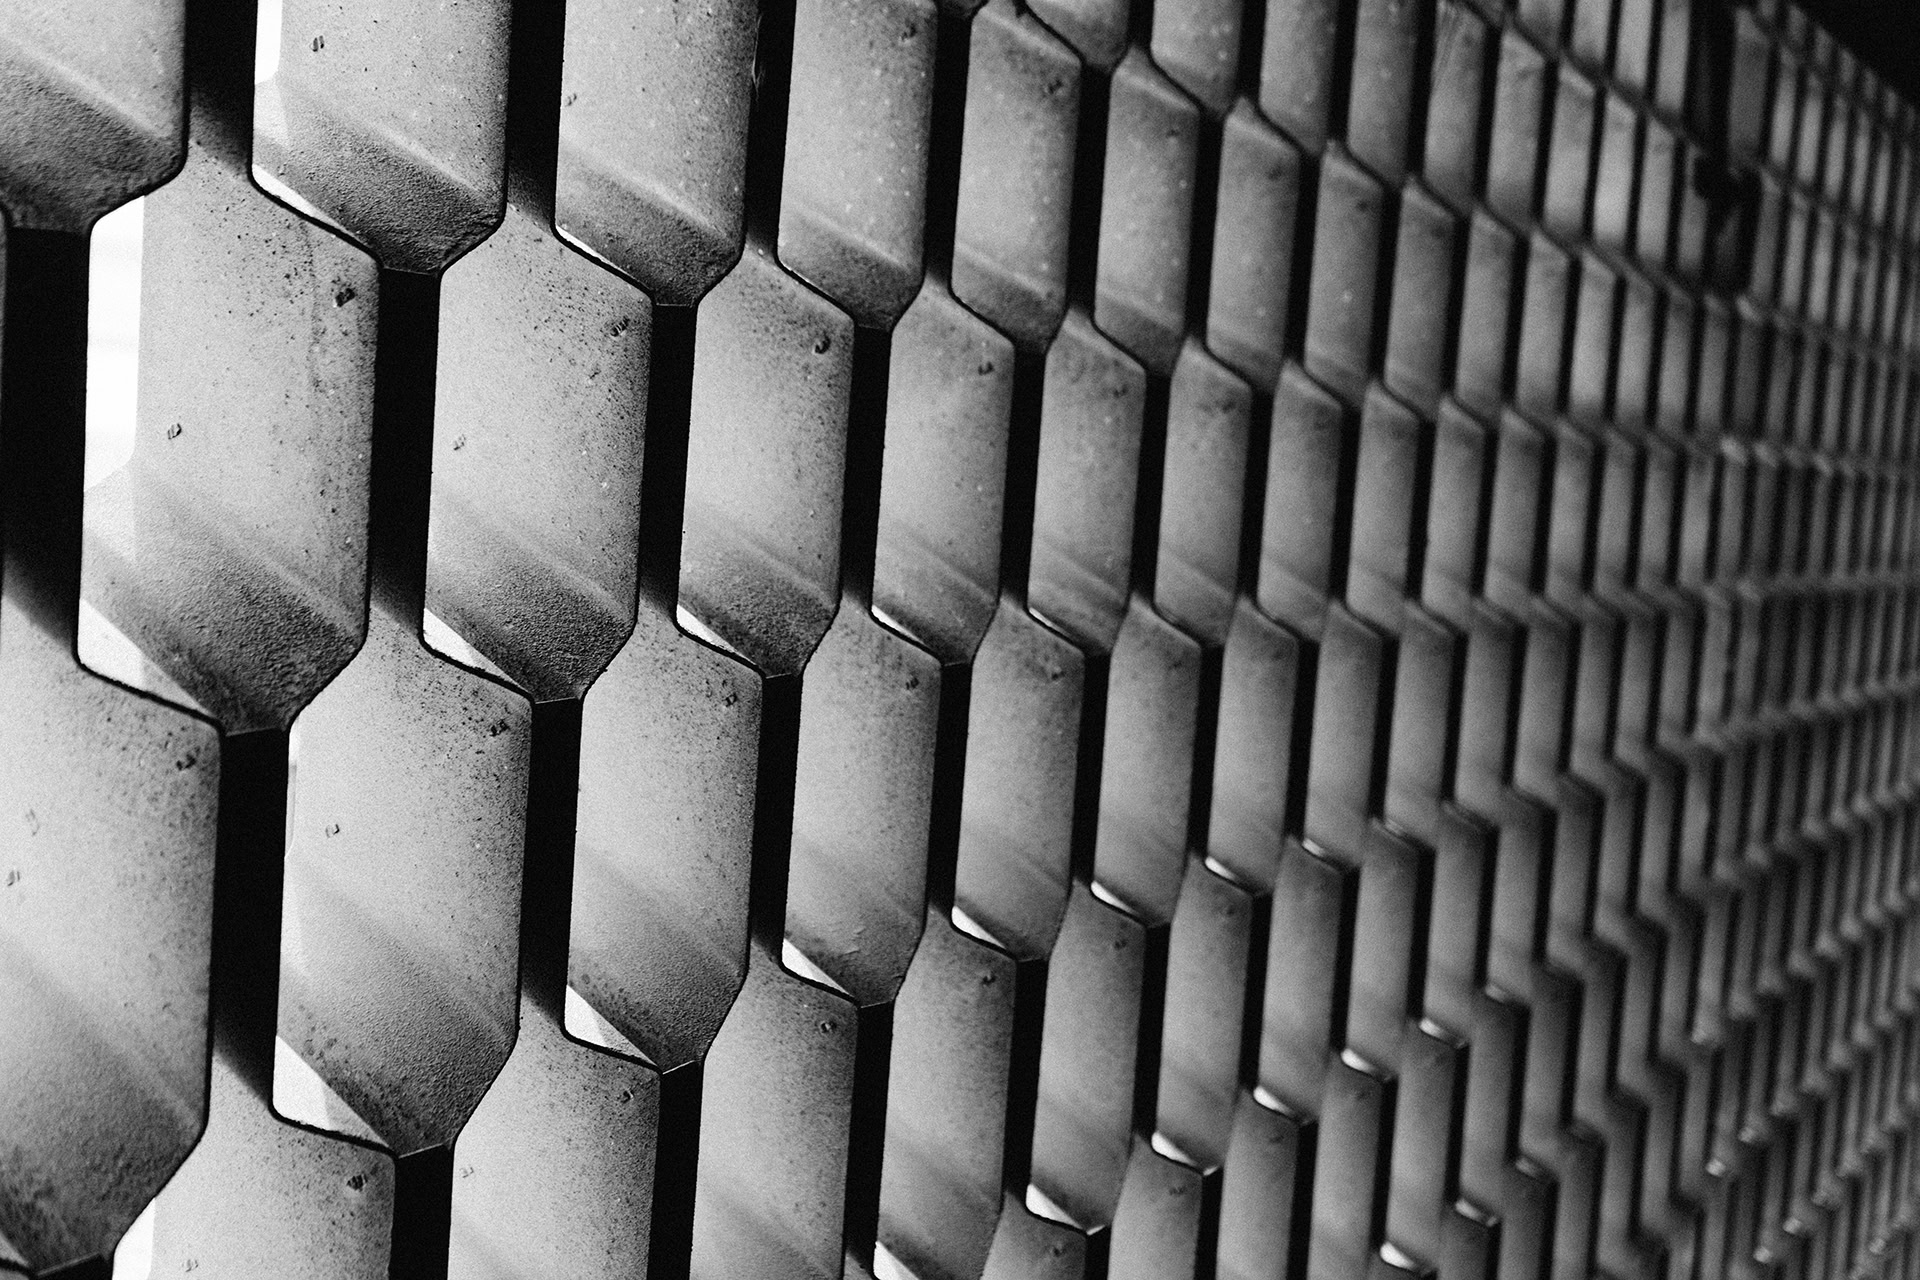
The elements of design
December 19, 2025
Blog
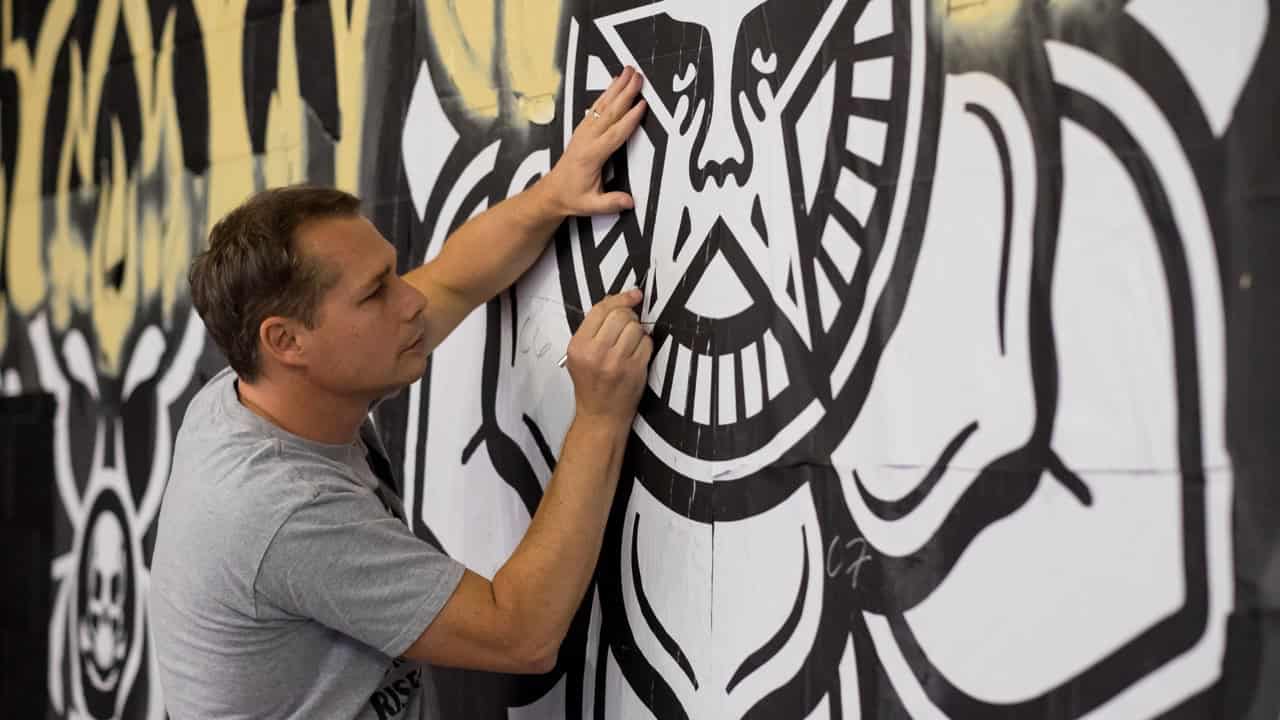
Cops arrest Shepard Fairey in Boston
December 19, 2025
Blog
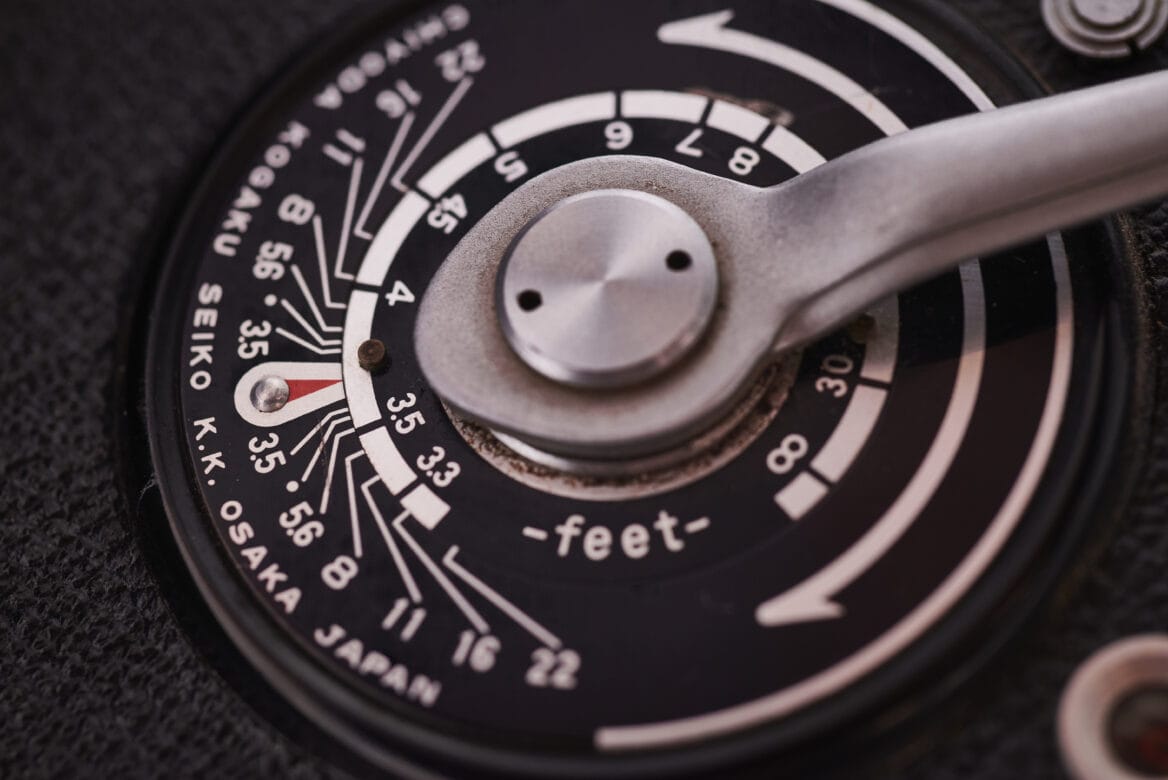
Defining Exposure
December 3, 2025
Blog
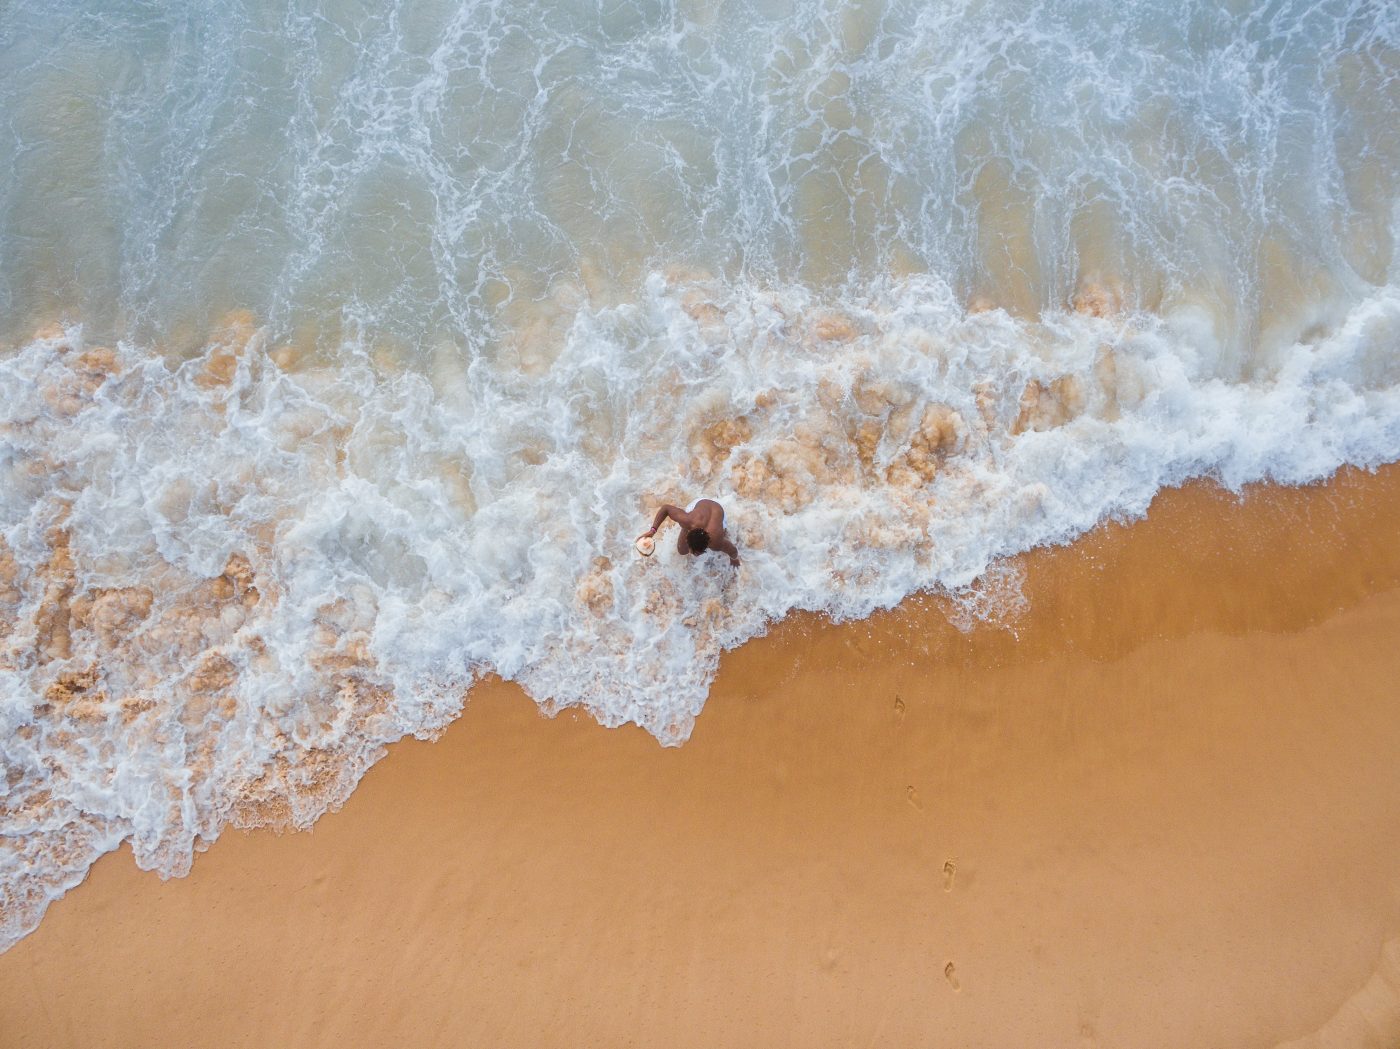
Best practices to optimize your wordpress site
November 20, 2025
Blog
Top tips for photographers in 2024
July 29, 2024
Blog
Five design trends that will set 2022 on fire
February 3, 2022
Blog
A Deep Dive into the Psychology of User Decisions
November 3, 2020
Photography
That Amazing South Carolina Sunset
August 14, 2020
Blog
How Much Money Do Designers Make?
May 11, 2020
Blog
How To Create Custom Website Backgrounds The Easy Way
March 5, 2020
Blog
Interesting Factoids I Bet You Never Knew About The Principles Of Design
January 28, 2020
Blog
Inspiration: 123klan – Little Known Facts & Why They Matter
January 16, 2020
1
2
3
…
6
»